A very useful feature of the pcDuino is a 3.3V logic-level serial port, which allows access to a root-level terminal session after boot. It also delivers information about the boot process, which can be useful for troubleshooting issues occurring during boot.

Connecting to this is simple, and there are many options for doing so. Here, I’ll give you instructions on using an FTDI Basic board, an FTDI cable, or an Arduino-compatible board. You’ll need either some female-male jumper wires or (second best option) some male header pins and female-female jumper wires.
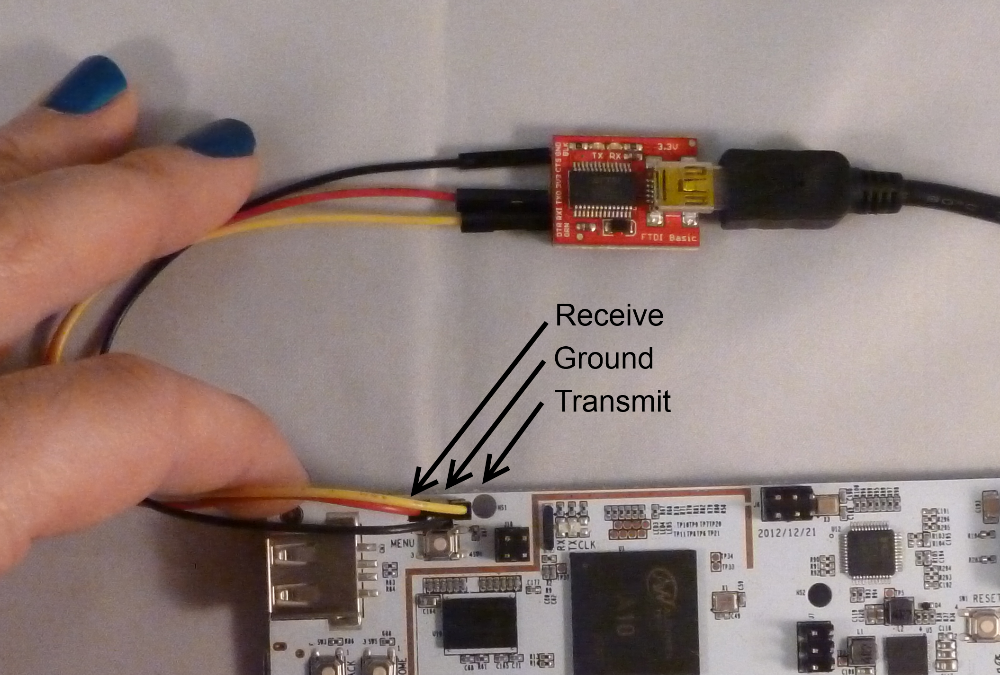
The FTDI Basic connection is easy, since the pins on the FTDI Basic board are labeled.
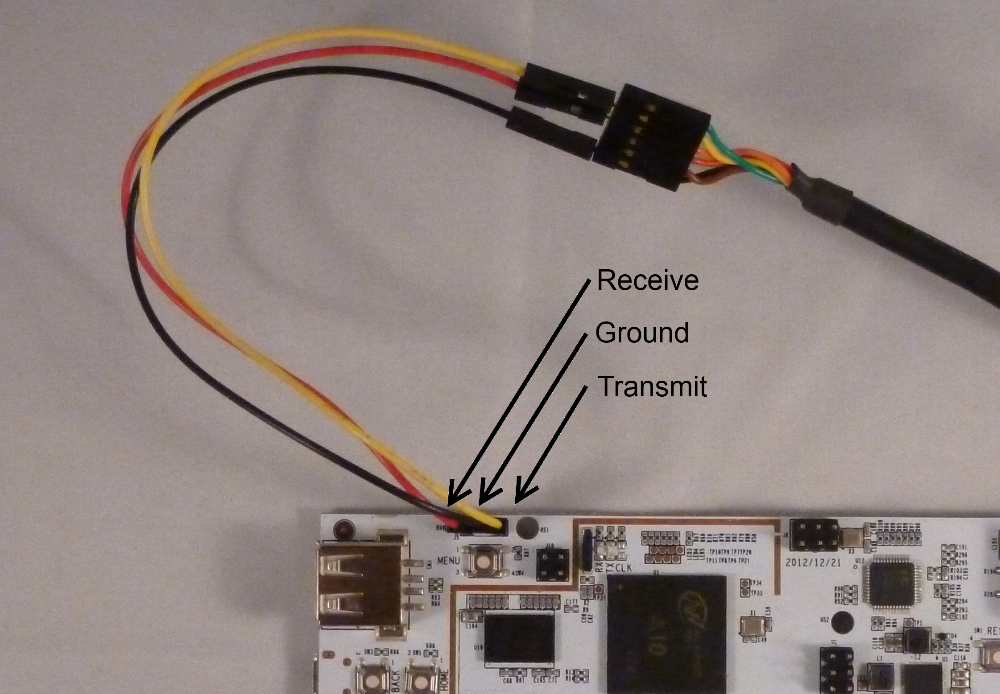
The FTDI cable has no label on the connector, but the pinout is (for this use, anyway) the same as that for the FTDI Basic.

This is the most difficult method for connecting to the debugging port, although probably the most readily available. The first thing you’ll want to do is load a sketch (like this one) which makes the RX and TX pins inputs. That will ensure that there’s no conflict between the ATmega on the Arduino-compatible and the pcDuino. Then, connect the pins from the pcDuino to the headers on the Arduino-compatible board. Unlike the other two options, in this case, you’ll connect the pcDuino transmit pin to the TX pin on the Arduino-compatible and the pcDuino receive pin to the RX pin. This is because the label on the Arduino-compatible headers refers to the direction of the data relative to the ATmega, not the serial bridge device.
Use your favorite terminal program (I like PuTTY); I’d strongly suggest avoiding the Arduino serial terminal function, however. You’ll want to be sure local echo is off. The connection settings you’ll need are:
联系客服