We here at Birch Fabrics, have been incredibly blessed to work with Jess of Craftiness Is Not Optional. Jess joins us here again, to bring you a ridiculously adorable reversible wrap top inspired by our Eiko collection by Jay-Cyn Designs. The japanese kimono style wrap, will be loved by moms for its effortless style, and loved by daughters for it's cuteness of course! Without further adieu, we are so honored to hand the reins over to Jess of Craftiness Is Not Optional!
Hey fellow fabric lovers! I'm Jess, from Craftiness is not Optional, and I'm so excited to share this top with you! It's a reversible wrap top with cute little flutter sleeves! And as a bonus-I have created a free pattern for you to use! (available in 3 sizes,
download it HERE!) I got to play around with the gorgeous new
Eiko line from Birch Fabrics. It's organic cotton-I love this stuff. It's got a great feel and drape and was perfect for this little wrap top. Their fabric is produced from 100% organic cotton, and printed with low impact dyes. I used Stamp Stripe in Pool, and Birds & Blossoms in Paprika to sew up this top!
My little gal LOVED that she got two tops in one-she seriously couldn't decide which was her favorite. I'm partial to aqua, but I've got to admit, the red totally won me over!
So here's how I made it! It's really quite easy!
First, the pattern. You can download my
Free Pattern (in sizes 12-24 mo, 2/3T, and 4/5) or make your own.
Here's a printing guide for taping the pattern together! Print at 100%, no scaling (there is a 1' box to check on the first page before you print out the rest), cut at the grey lines, and then piece and tape together like the pic below shows!
Seam allowance for the pattern is 3/8' unless otherwise specified!
If you're making a different size, get out your paper and pencil! (and tshirt in the size you are making!)
First fold the tshirt in half and trace around it, adding seam allowance to the neckline, shoulder, armhole, side, and length on the bottom for a hem (the hem=about an extra inch)
This is what you should have, roughly.
Next flip it over and trace so that you have one full pattern. (this will be your back pattern piece)
Trace around the back pattern, only omitting one of the shoulders and creating a curve from the inside of one shoulder seam, down to 3/8-1/2' below the bottom of the armhole.
Also trim off about 1/2'-3/4' from the side like so.
For the flutter sleeve, I basically traced the armhole and two lines from the shoulder seam and side seam and connected them to create it. Easy peasY! This pattern piece is very forgiving. :)
Then cut out from
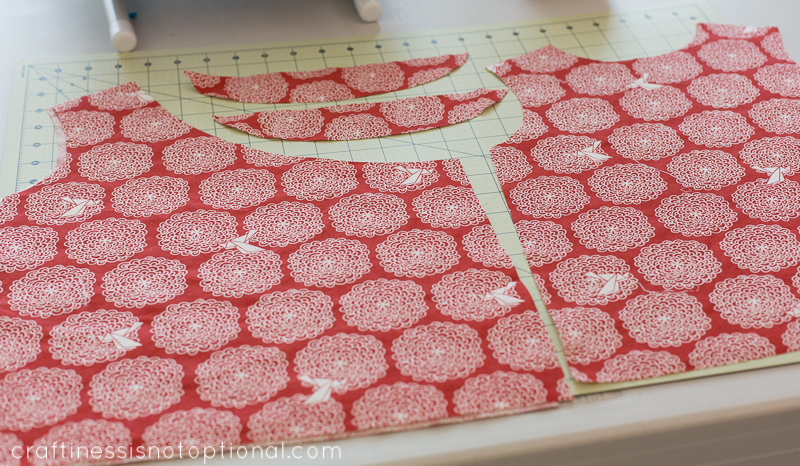
BOTH the main fabric and lining: 2 front wrap pieces, 2 flutter sleeves, and 1 back piece.
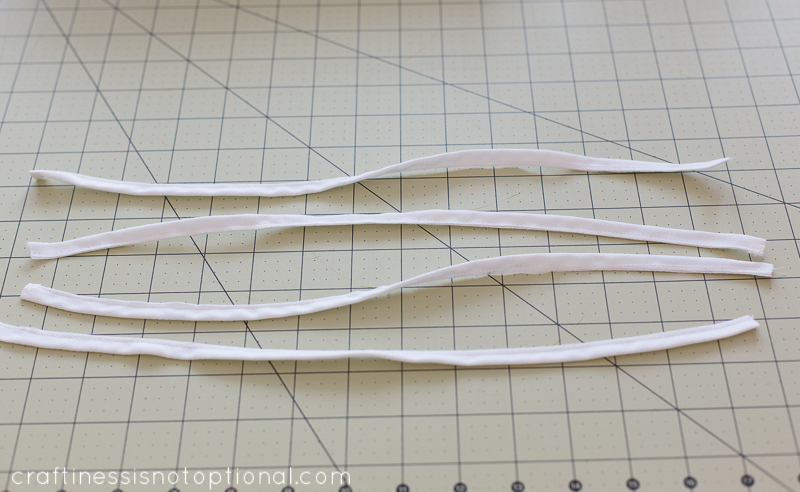
Also four 12-15' pieces of ribbon, bias tape, or twill tape. I used the 15' length for the 4/5 size. I used some twill tape folded in half and sewn together.
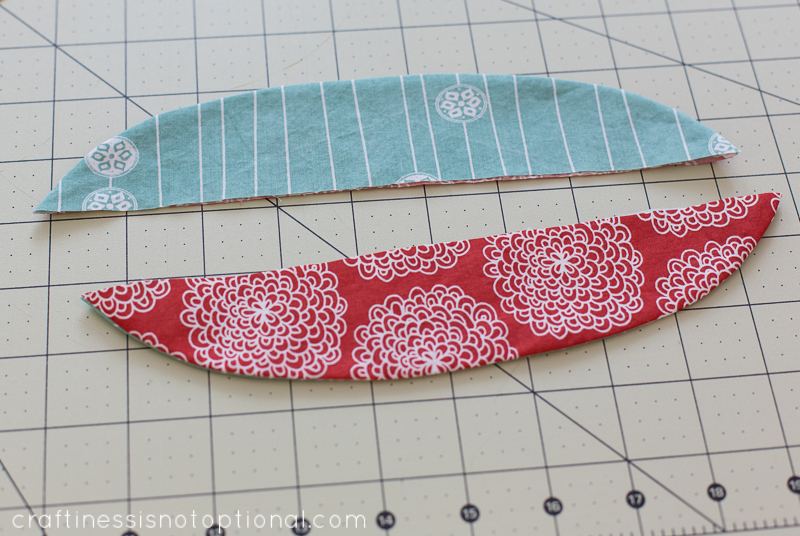
First pin the main fabric and lining flutter sleeves right sides together, and sew around the curved edge with a 1/4' seam.
Turn right sides out and press, taking care to get the edges pushed out and pressed evenly.
Pin the front and back pieces together at the shoulders, for both the main fabric and lining pieces. Sew shoulder seams and press open.
Sew a gathering stitch along the straight edges of the flutter sleeves and gather so that they're the same length. The sleeves will not extend down to the bottom of the armhole...just eyeball it so it looks good to you!
Lay out one of the bodice pieces like so-then matching the fabric right sides together, lay out the flutter sleeves on top. Pin together, starting with matching the middle of the flutter sleeve and the shoulder seam first, then pinning the sides down. Baste in place.
Layer the other bodice piece on top of the previous piece and pin together at the armholes and neckline like so.
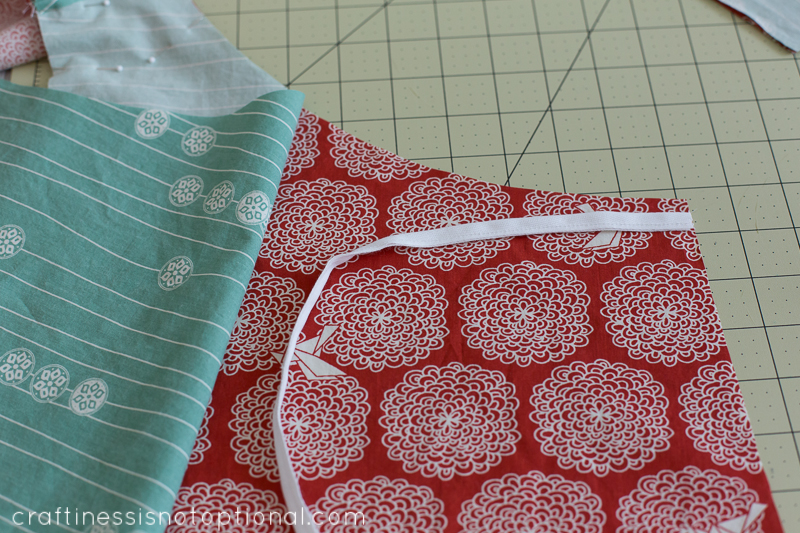
On both sides of the front wrap pieces, pin one of your tie pieces 3/8' from the top like so, and pin in place. Continue pinning together the front of the top. Make sure to keep the rest of the tie away from your stitches (a pin works great!)
Sew around the armholes, fronts, and neckline of the top like so. Clip corners and curves as needed.
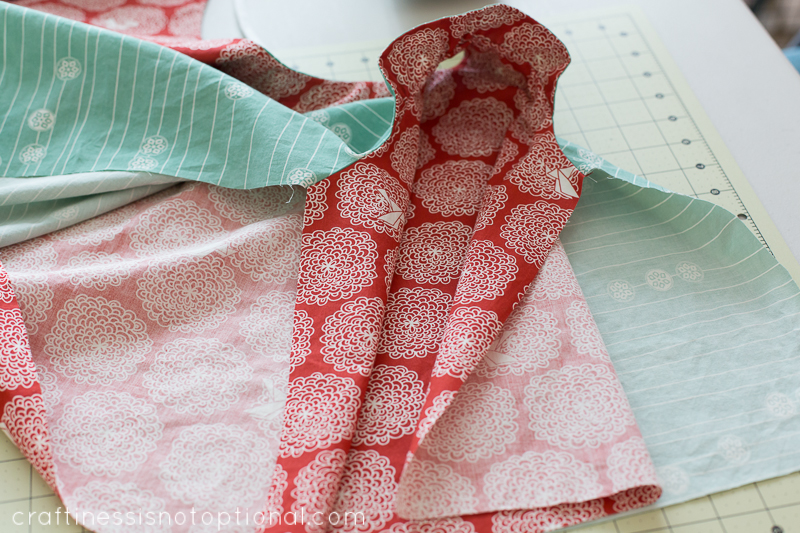
Turn right side out by pulling the two front wrap pieces through the open back.
Then press carefully around the seams you just created-take care to roll out the fabric with a chopstick or your fingers to get a nice crisp and even pressed edge.
Next open up the side seams on one side of your top.
Match up the seams like so and pin.
Next pin one of the ties in place 3/8' below, or above depending on how you are looking at it, the seam-main fabric first.
Continue pinning the sides together and sew.
Repeat with the other side of the top, only
sew the tie into the lining fabric the same way. Turn right sides out and press.
Next turn up and press the bottom up 1/2' like so-taking care to match up as evenly as possible!
Pin and sew 1/8' from the edge!
You are done! Tie each set of ties together on the inside and outside, depending on your mood, and enjoy your two tops in one adorable package. :)


